
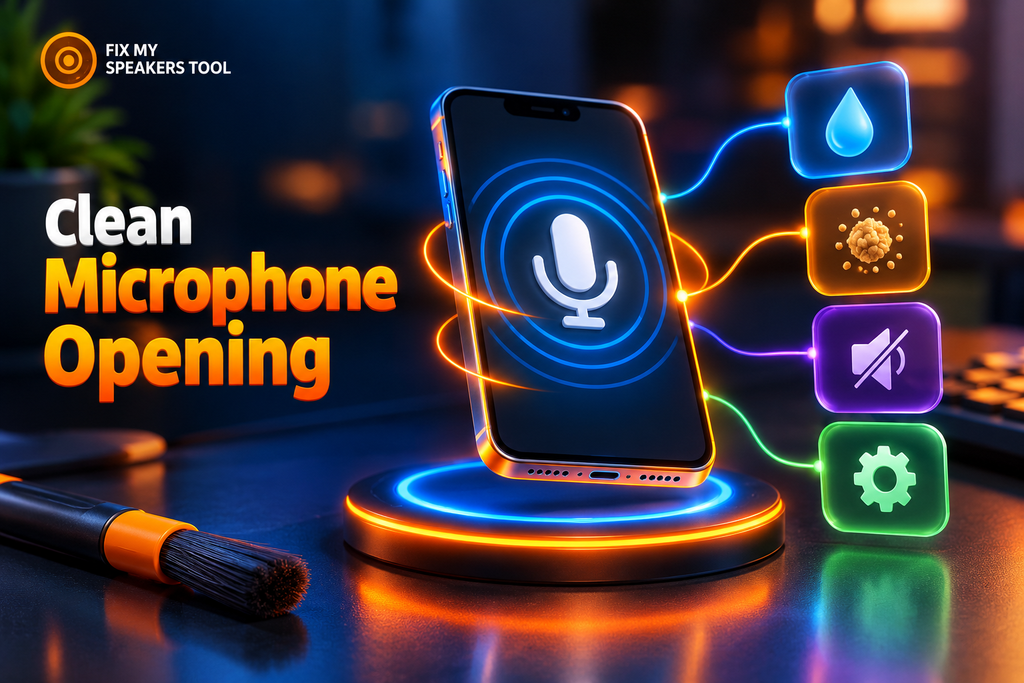
People keep telling you that your voice sounds muffled. Or they say they cannot hear you at all. A blocked microphone opening is one cause. A case, a software fault or a failing part can cause the same trouble. This guide shows you how to clean phone microphone openings safely. It also shows you how to check first whether dirt is the problem. You do not need special gear. You need a few minutes, good light and a dry brush. Start with the free checks and move to the brush only when they point to dirt.
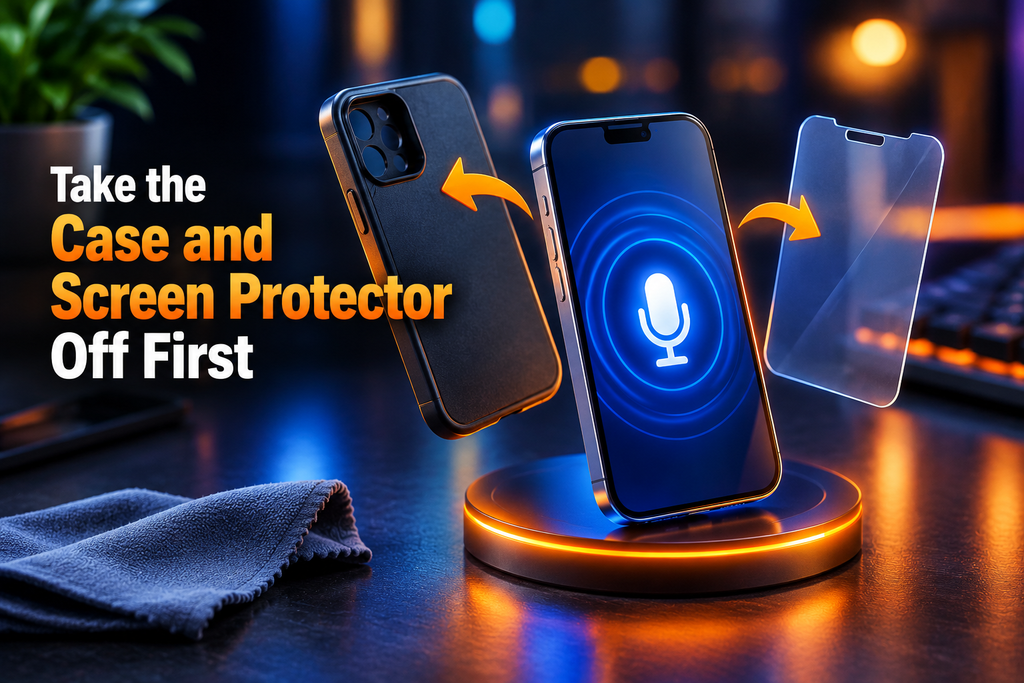
Take the Case and Screen Protector Off First
Samsung’s microphone troubleshooting guide names an attachable protective cover or a protective film as a cause of blockage. It names them before it names dust. That order matters.
A thick case can muffle a microphone. So can a case with a cutout that sits slightly off target. A screen protector whose edge creeps over the earpiece slot does the same job. The microphone underneath can be perfectly clean.
Try this first. Take off the case. Peel off any film that touches an opening. Then make a test call or record a voice memo and play it back. Compare the sound with what you heard before.
Apple’s sound troubleshooting page lists the same step — remove any screen protector, film or case — among its first checks. Two manufacturers point at the same thing. Two manufacturers agree on step one.
This costs nothing and takes seconds. For many people the problem ends here. If your voice now sounds clear, check that the cutouts on your case line up with every opening before you put it back on. You do not need to clean phone microphone parts that were never dirty. If the sound stays muffled, read on.
Your Phone Has More Than One Microphone
Most people clean one hole at the bottom of the phone and assume that is the microphone. That is only part of the picture. Two manufacturers document two different locations. A blockage in one opening does not affect the other.
So find each opening before you pick up a brush. Cleaning the wrong one wastes your effort and leaves the real problem in place. A quick look now saves you a lot of guessing later.
The Bottom Microphone
Samsung states that the microphone sits at the bottom of the phone. On most phones this opening sits beside the charging port and the speaker grille. It also collects pocket lint faster than any other spot.
Hold the phone under a bright light and look closely. You will see a small hole or a fine mesh. A packed opening often looks darker than the metal around it. Tilt the phone to catch the light from different angles.
Start here when you clean phone microphone openings at home. If you see fuzz or grit sitting in the hole you have found a likely culprit.
The Microphone in the Earpiece
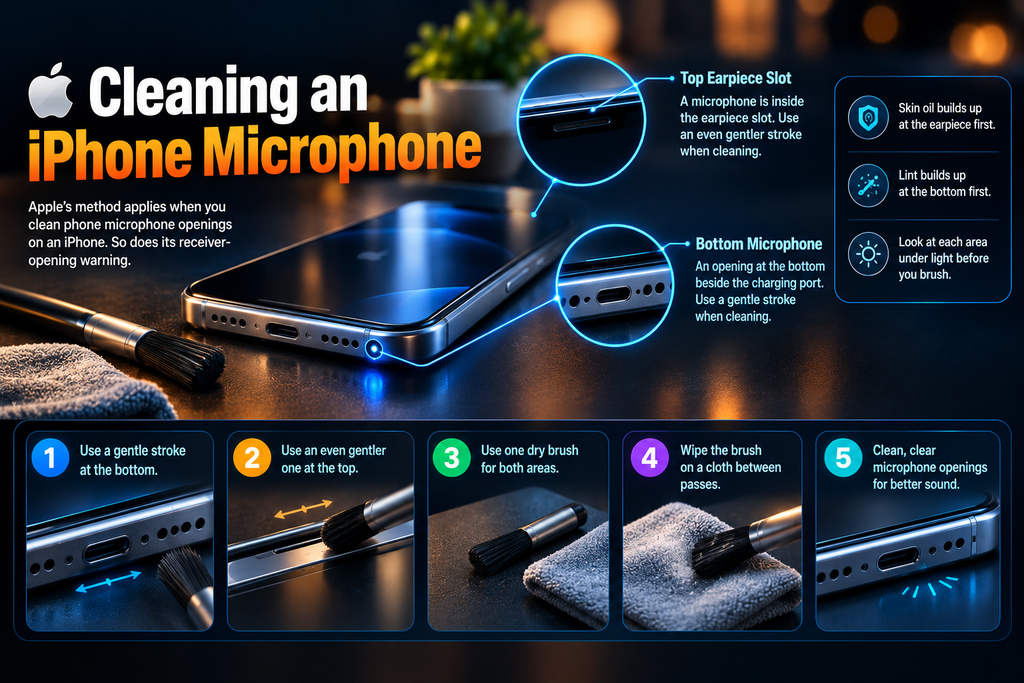
Apple documents a microphone inside the receiver opening. That is the narrow slot above the screen that you press against your ear. Apple gives a direct warning: “Avoid damaging the microphone embedded within the receiver opening.”
Take that warning seriously. This slot is finer than the bottom hole. It collects skin oil as well as dust. The component sits close behind the mesh. A rough stroke can reach it.
Dim light hides this slot, so use a bright lamp. Use lighter pressure and shorter strokes here than you would at the bottom of the phone. Stop as soon as you see the debris move. You do not need to scrub.

Which One Is Blocked? Match the Symptom
Good phone mic cleaning starts with the right opening. Your symptoms tell you where to look. Pick the pattern that fits.
- Voice sounds fine on speakerphone but muffled with the phone at your ear: look at the earpiece end.
- Voice sounds muffled on speakerphone and in voice recordings: look at the bottom opening.
- Voice memos sound fine but callers still complain: dirt is probably not the cause. Go to the next section.
Here is the fastest test you can run without any app. Record a voice memo. Play it back on the speaker. Listen for a dull or distant tone. Repeat the memo with the case off and compare the two.
Pick the right opening before you clean phone microphone parts. If the audio fails only on calls the trouble may sit on the software side. If the audio fails only on calls the trouble may sit on the software side. Our Fix My Mic Speaker page covers that half of the problem.

Make Sure It Is Dirt and Not an App
Samsung’s documented order puts software before hardware. Follow the same order. Run these checks before you clean phone microphone openings with a brush.
Go to Settings and then Software update. Install any pending update. Next restart the phone and test the microphone with a Bixby or Google Assistant voice command. Last boot into Safe mode and test again.
If “there is no problem in Safe Mode” a third-party app is the cause. Samsung’s microphone troubleshooting guide tells you to uninstall recent apps starting with the newest. Test after each removal.
Read that again. A microphone that works in Safe Mode is not dirty. No amount of brushing will fix an app problem. Samsung also offers reporting through the Samsung Members app if the fault stays.

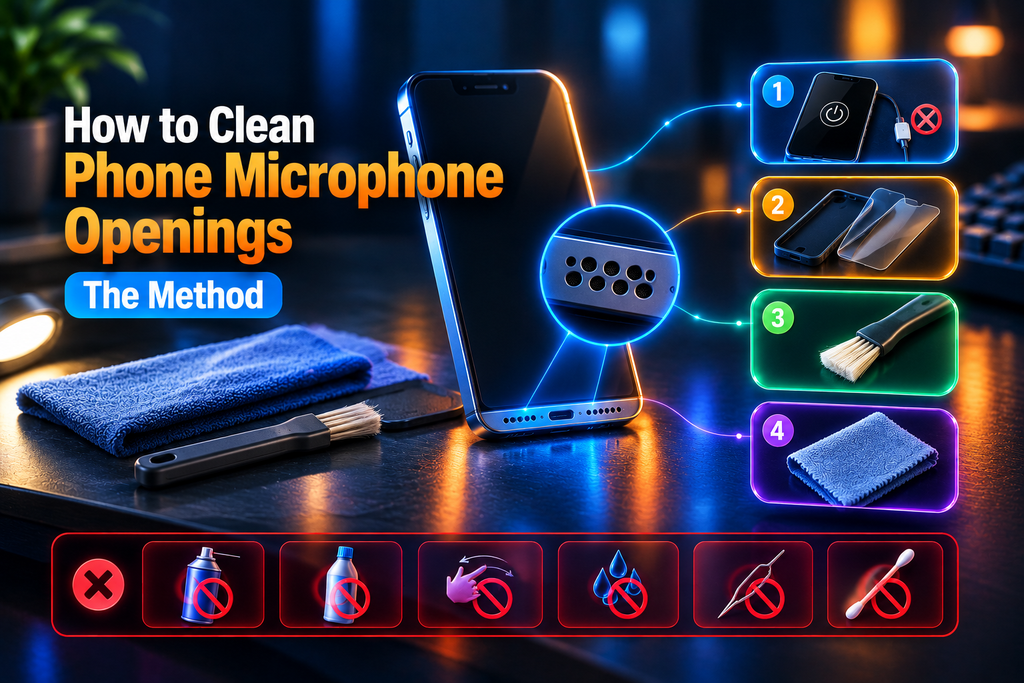
How to Clean Phone Microphone Openings: The Method
Here is how to clean phone microphone openings, step by step.
Power the phone off and unplug every cable. Remove the case and any film or screen protector. Move to a spot with bright light. Pick a small non-metallic brush with soft bristles. Make sure the brush is clean and dry.
Brush debris away from the opening. Do not brush across it or into it. Then wipe the loosened debris away with a soft lint-free microfibre cloth. Use lighter strokes at the earpiece than at the bottom opening.
A good phone microphone cleaner is not a gadget. It is a clean dry brush and a steady hand. Check your work under the light before you power the phone on. If you still see fuzz in the hole repeat the pass once. Do not dig.
Treat this as a patient job. One careful pass beats several rough ones. Then run your voice memo test again.
What Apple Documents
The fullest manufacturer procedure sits on Apple’s sound troubleshooting guidance. Apple publishes it on its iPad sound troubleshooting page rather than a phone page. The openings and the risks match on a phone so the steps carry over.
Apple tells you to check the speaker and microphone openings for debris. Clean them with a small nonmetallic brush that has soft bristles and stays clean and dry. Gently brush the cover mesh in the receiver opening. Brush debris away from the cover openings of the speaker and microphone. Wipe the loosened debris away with a microfibre cloth. Turn the device off and unplug it first.
Samsung publishes no equivalent procedure. Its page covers what blocks the hole and not how to clear it. We use Apple’s steps to clean phone microphone openings on any brand for that reason.
What to Never Put in a Microphone Hole
Apple rules out the first four items below. We add the last two.
- Compressed air
- Products containing bleach or hydrogen peroxide
- Large sweeping motions across the glass
- Moisture in any opening
- A pin, needle, paperclip, toothpick or SIM tool
- A cotton swab pushed into the opening
Each one either pushes debris deeper or damages a mesh that sits directly in front of a component. Never use them when you clean phone microphone openings. A phone microphone cleaner spray adds moisture too. Apple’s sound troubleshooting guidance says to avoid it. Guides that recommend canned air and toothpicks contradict the manufacturers.
Cleaning an iPhone Microphone
Apple’s method applies when you clean phone microphone openings on an iPhone. So does its receiver-opening warning. An iPhone has an opening at the bottom beside the charging port. It also has a microphone inside the earpiece slot. You clean both the same way but with different pressure.
Use a gentle stroke at the bottom. Use an even gentler one at the top. Skin oil builds up at the earpiece first. Lint builds up at the bottom first. Look at each area under light before you brush. You can clean iPhone microphone areas with one dry brush if you wipe it on a cloth between passes.
Cleaning a Samsung or Android Microphone
Here is how to clean phone microphone openings on a Galaxy. Samsung documents the bottom location and the case and film causes. It documents no cleaning procedure. We say that plainly. The dry brush method above is the safest option because it contradicts nothing Samsung states.
Run the Safe Mode check in Samsung’s microphone troubleshooting guide first. Samsung documents it and it costs nothing. Phone mic cleaning on a Galaxy comes after that check and not before.
Other Android brands work on the same principles. For another Android brand, check your manufacturer’s support site for guidance on your model.
If It Still Sounds Muffled
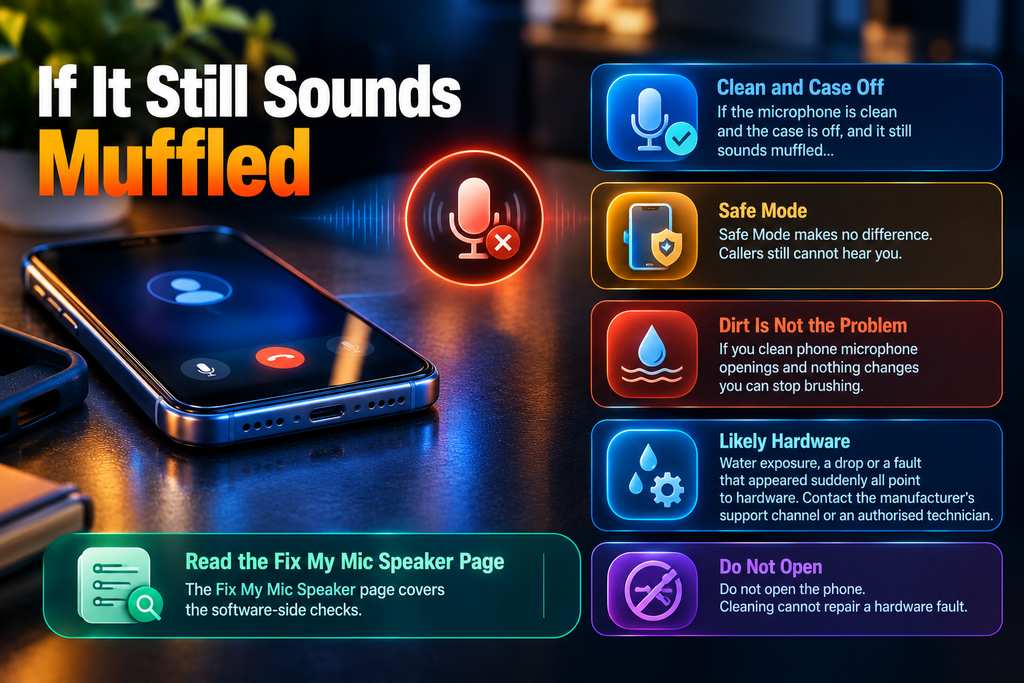
Suppose the microphone is clean and the case is off. Safe Mode makes no difference. Callers still cannot hear you. Then dirt is not the problem. If you clean phone microphone openings and nothing changes you can stop brushing.
Water exposure, a drop or a fault that appeared suddenly all point to hardware. Contact the manufacturer’s support channel or an authorised technician. Do not open the phone. Cleaning cannot repair a hardware fault. The Fix My Mic Speaker page covers the software-side checks.
Frequently Asked Questions
Related Speaker Guides
- Fix My Mic Speaker: the microphone tool and software checks
- Speaker Cleaner: sound, brush or repair, which you need
- iPhone Speaker Cleaner: for Apple devices
- Fix My Speaker Dust: the dust cleaning tool


